



Make a learning clock
A dial and two hands to cut out and pin together, so the hands actually turn. Both rings are printed — hours inside, minutes outside — because "the 3 means fifteen" is the step children get stuck on, and a bare face hides it.
How to use it
You need a split pin (a paper fastener) for the hands to turn. If there is not one in the house, push a short strip of paper through a small slit at the centre and fold the ends flat on the back — it works, it just wears out faster. Glue the dial to card before cutting if you want it to last: a paper clock face curls within a week of being handled. Page two is the harder half and the one usually skipped: reading a clock and setting one are different skills, and children who can do the first often cannot do the second.
Every page in this pack
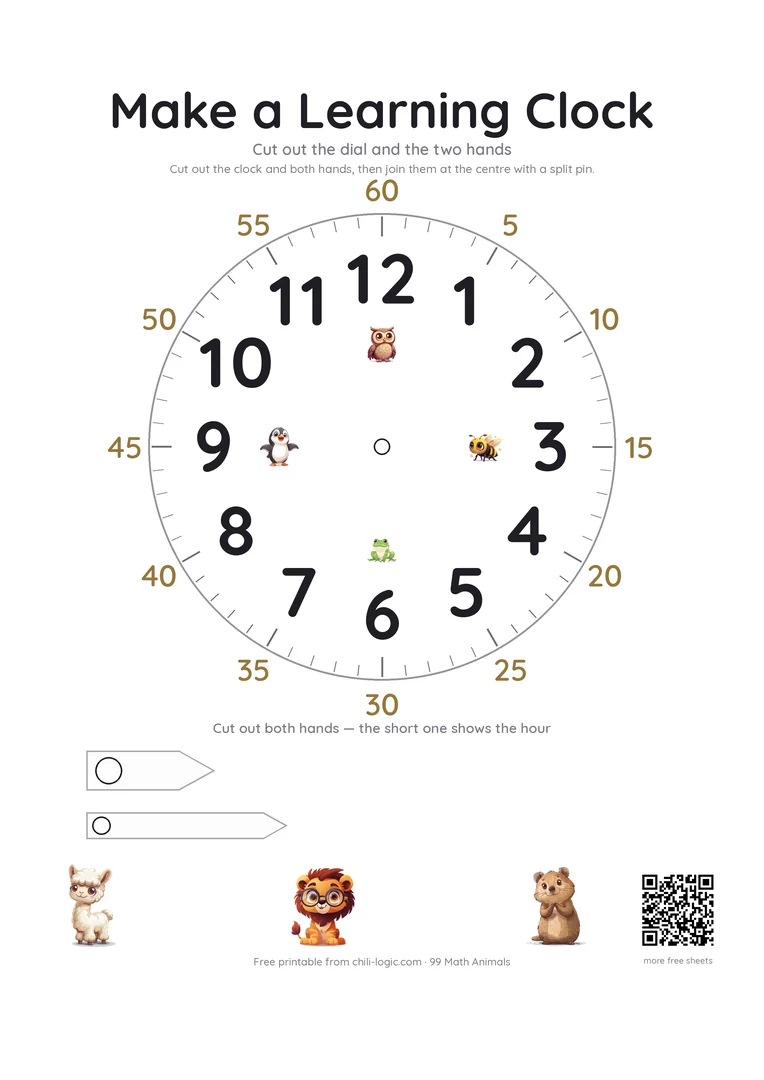
The clock to build
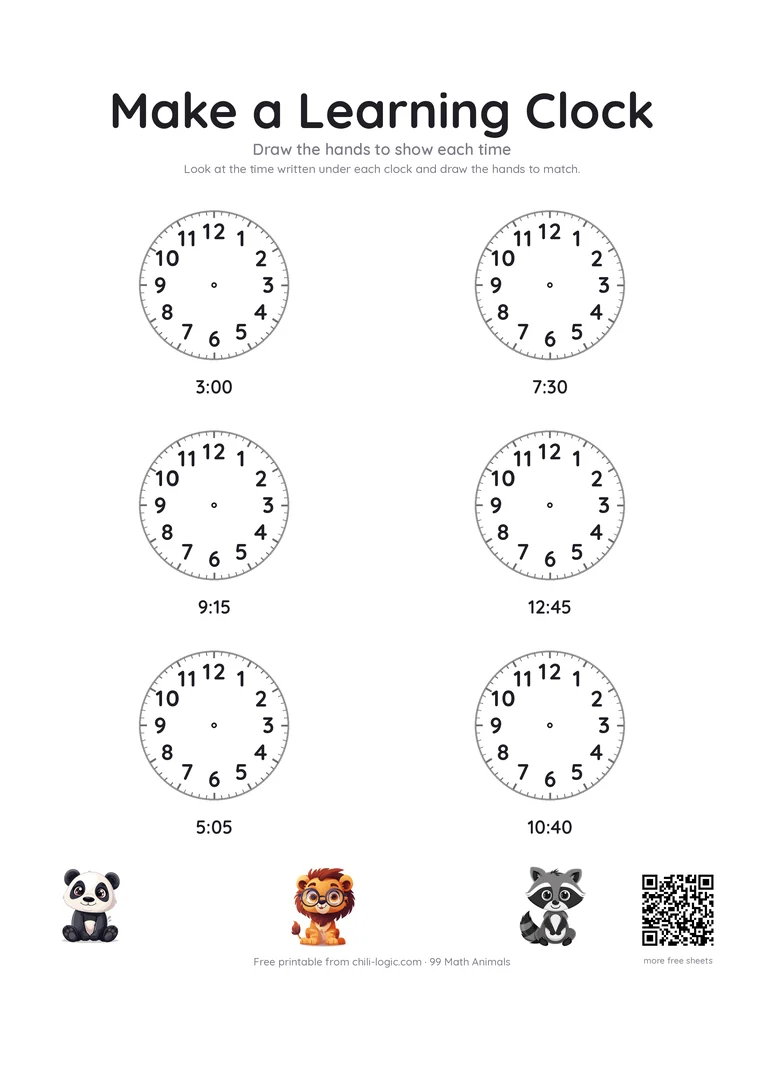
Draw the hands
Printing notes
- Print at 100%, not "fit to page" — scaling shrinks the digits and the whole point is that your child writes them at a steady size.
- Black-and-white and draft mode are fine. Nothing on these sheets depends on colour.
- Slide a sheet into a punched pocket and a dry-wipe pen turns one page into a hundred goes.
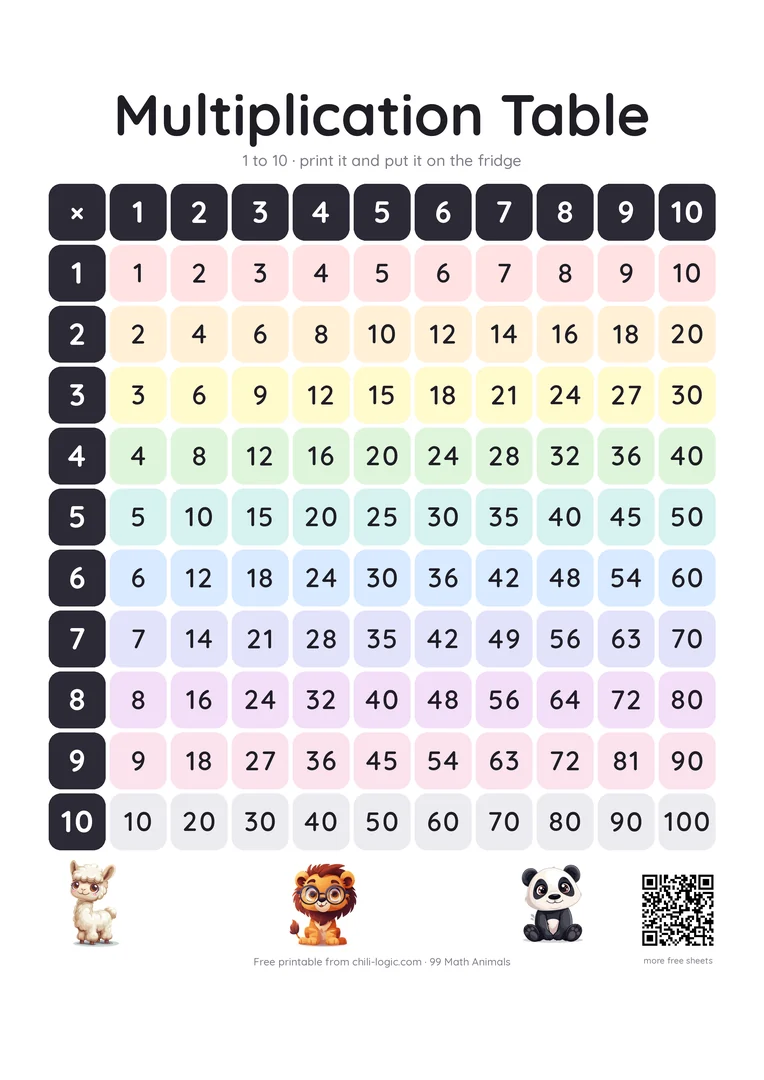
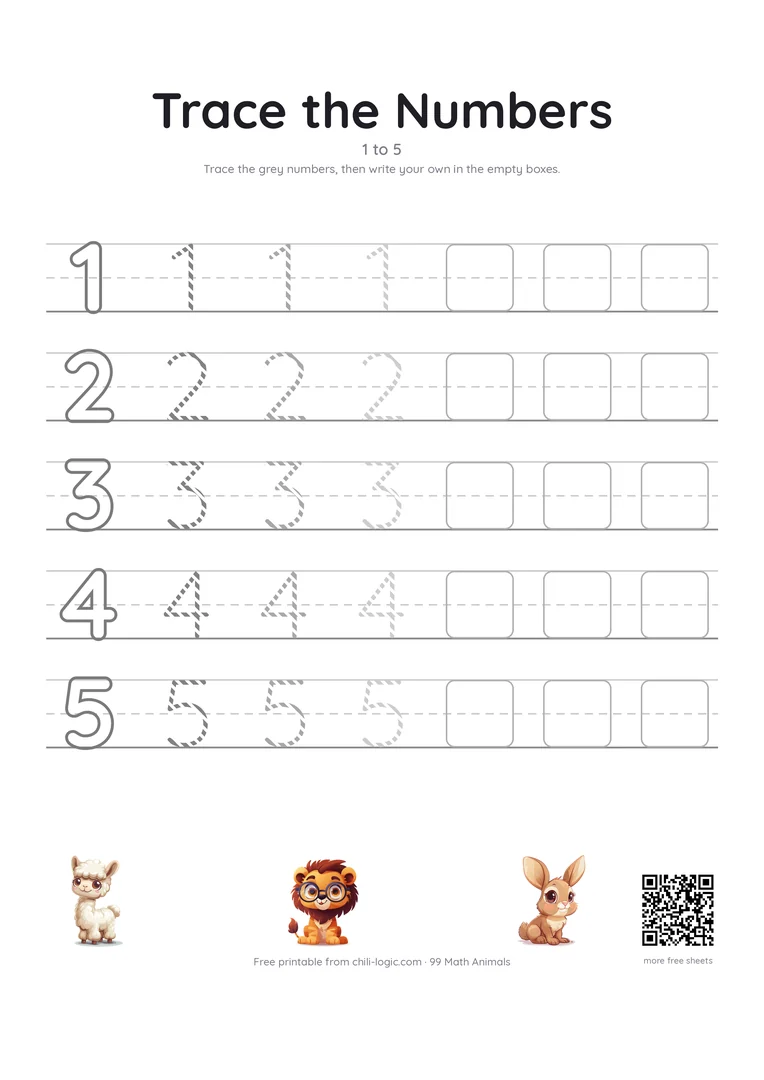
The thinking behind it
How to Teach a Child to Tell Time — Read the full guide